
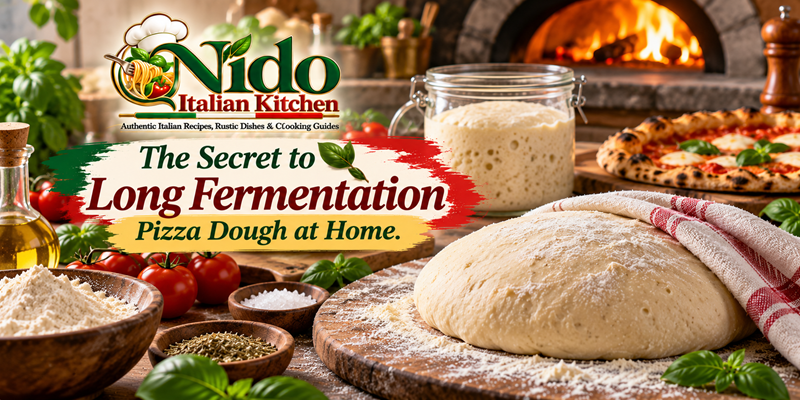
The Secret to Long Fermentation Pizza Dough at Home – Creating authentic pizzeria-quality crust in a domestic kitchen often seems challenging for home bakers. Many beginners rely on high amounts of yeast to force dough to rise quickly within two hours. However, rapid rising often leads to bland flavor, tough crusts, and heavy digestion. The true secret to achieving complex flavor, delicate air pockets, and superior digestability lies in long fermentation.
The Secret to Long Fermentation Pizza Dough at Home
In this educational guide, we will analyze the biological and chemical mechanics of long fermentation pizza dough at home. By mastering time and temperature control, you can elevate your homemade pizza crusts to professional artisanal standards.
Understanding the Mechanics of Fermentation
Fermentation occurs when yeast consumes simple sugars within wheat flour, producing carbon dioxide gas and alcohol. While quick dough relies on aggressive yeast activity, long fermentation slows this process down intentionally.
1. Cold Fermentation in the Refrigerator
Bakers achieve long fermentation by placing freshly mixed dough inside a cold refrigerator kept between 36 to 39 degrees Fahrenheit (2 to 4 degrees Celsius). Cold temperatures slow down yeast metabolism significantly. Consequently, the yeast produces gas at a gradual pace over 24 to 72 hours instead of expanding rapidly.
2. Enzymatic Activity and Flavor Development
While low temperatures suppress yeast activity, naturally occurring enzymes inside wheat flour remain active. Enzymes known as amylases continuously break down complex starches into simple sugars. Meanwhile, protease enzymes gently soften dense gluten strands. As a result, this slow biochemical activity generates organic acids that give the finished crust a rich, complex aroma.
Key Benefits of Long Fermentation Pizza Dough
Extending the fermentation window offers several distinct culinary advantages over quick dough preparation methods.
1. Superior Crust Digestibility
Rapidly risen dough often leaves complex starches intact, requiring your stomach to work harder during digestion. Conversely, extended fermentation allows enzymes to pre-digest complex starches and break down tough gluten networks. Therefore, long-fermented crusts feel remarkably light and easy on the digestive system.
2. Enhanced Flavor Complexity
Quick dough usually tastes strongly of raw flour and commercial yeast. In contrast, cold-fermented dough develops subtle nutty, buttery, and pleasantly tangy notes. These rich flavor compounds emerge naturally without needing artificial flavor boosters or excessive sugars.
3. Improved Dough Pliability and Handling
Slow enzyme action relaxes tight gluten bonds over several days. Consequently, cold-fermented dough balls stretch easily by hand without shrinking back continuously. This structural flexibility allows home bakers to shape thin, uniform pizza discs effortlessly.
Step-by-Step Home Preparation Method
Following a disciplined schedule helps you control moisture, yeast activity, and temperature effectively.
Phase 1: Mixing and Initial Hydration
Combine fine Tipo 00 or unbleached bread flour with 65 percent water, fine sea salt, and a minimal quantity of instant yeast. Remember, long fermentation requires less than half the yeast used in quick recipes. Mix the ingredients until a shaggy mass forms, then let it rest covered for twenty minutes to allow full flour hydration.
Phase 2: Gentle Folding and Balling
Instead of aggressive kneading, perform three sets of stretch-and-folds over one hour. Next, divide the smooth dough into individual portions weighing roughly 250 grams each. Shape each portion into a tight, smooth ball to trap internal gas bubbles effectively.
Phase 3: The Cold Fermentation Window
Place dough balls inside lightly oiled, airtight containers to prevent surface drying. Transfer the containers directly into the coldest part of your refrigerator. Allow the dough to ferment undisturbed for at least 24 hours, though 48 to 72 hours yields the absolute peak of flavor development.
Phase 4: Warming and Baking
Remove your dough container from the refrigerator two hours before baking. Allowing the dough ball to reach room temperature relaxes the internal fats and gluten, ensuring smooth hand stretching. Bake your shaped pizza on a preheated baking steel or stone at maximum oven temperature. Neapolitan vs. Roman Style Pizza: Understanding the Crust and Technique
Essential Rules for Long Fermentation Success
-
Yeast Proportion: Reduce yeast amounts drastically to prevent over-proofing over extended fermentation windows.
-
Temperature Control: Keep refrigerator temperatures steady to maintain slow, predictable yeast activity.
-
Airtight Storage: Seal dough containers tightly so ambient cold air does not dry out the outer skin.
-
Warm-Up Phase: Always let cold dough rest at room temperature for two hours prior to stretching.
Summary of Quick vs. Cold Fermentation
-
Quick Dough (2 Hours): Requires high yeast volume, yields simple flour flavors, produces dense crust edges, and resists hand stretching.
-
Cold-Fermented Dough (48 Hours): Uses minimal yeast, develops rich nutty flavors, creates airy crust rims, and stretches easily.
Conclusion
Mastering long fermentation pizza dough at home transforms simple flour, water, salt, and yeast into an extraordinary artisanal crust. By replacing excessive yeast with time and cold storage, you allow natural enzymes to build flavor, soften gluten, and enhance digestibility. Incorporate these slow fermentation principles into your baking routine to enjoy authentic, crispy, and flavorful homemade pizza.